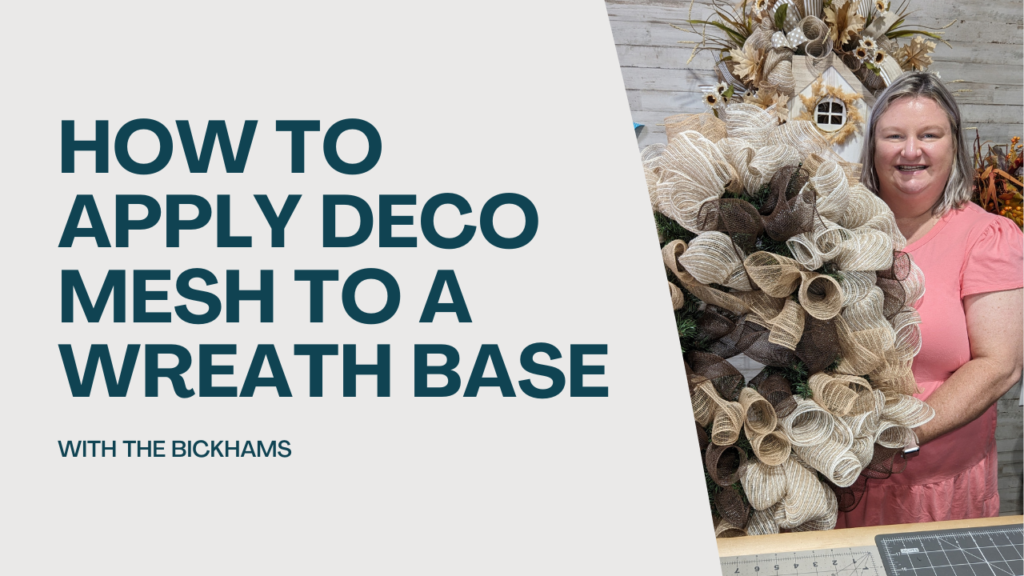
Hello there, wreath enthusiasts and crafting friends! We’re thrilled to have you join us here at With the Bickhams, your go-to destination for all things wreath-related. Today, we’re diving into the art of wreath-making with our latest YouTube tutorial: “How to Apply Deco Mesh to a Wreath Base.” Trust us, this isn’t your run-of-the-mill wreath; it’s a wreath bursting with personality, color, and a touch of whimsy.
Before we dive into the nitty-gritty, let’s take a quick sneak peek at the materials we’ll be working with: a 24″ evergreen wreath base that’s the perfect canvas for creativity, 10″ chocolate mesh, 10″ burlap mesh, and 21″ burlap with charming white stripes. With this ensemble, we’ll show you how to master the art of making “cruffles” (yes, you read that right!) and utilize the “butt method” for a flawless finish.
Creating Cruffles: TaTa Technique
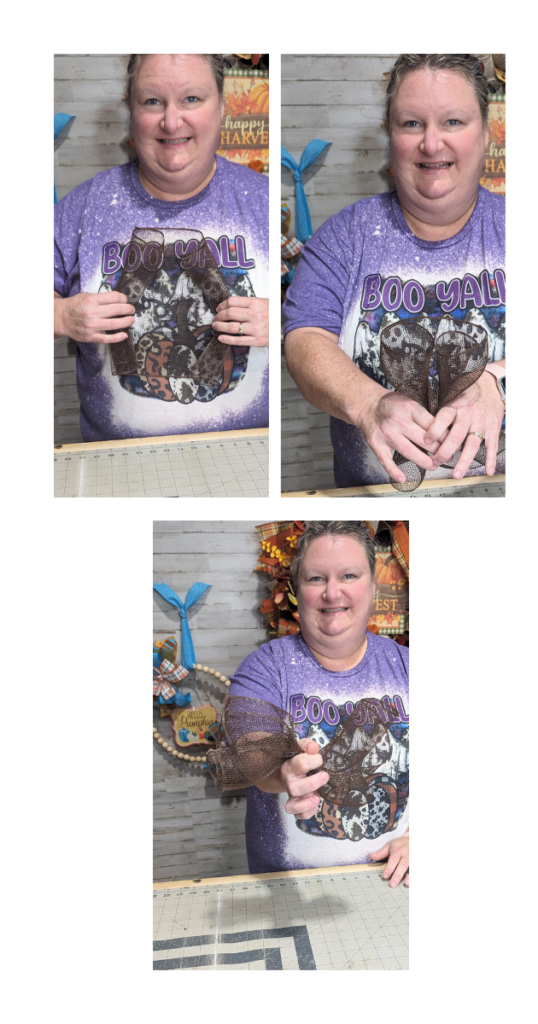
Cruffles – they’re not just a delicious treat, they’re an essential part of wreath-making magic. To achieve these lovable, textured curls, we’ve got a trick up our sleeve that we fondly call the “TaTa method.” Take your 10″ mesh pieces and cut them into 18″ long sections. Now, envision the mesh rolling in from each end towards the middle, then give it a gentle accordion-like scrunch at the center. Hold the scrunched mesh between your thumb and forefinger, and voilà! You’ve got a cruffle ready to adorn your wreath. Secure it snugly between two pine ties on the wreath base.
Butt Method for 21″ Mesh
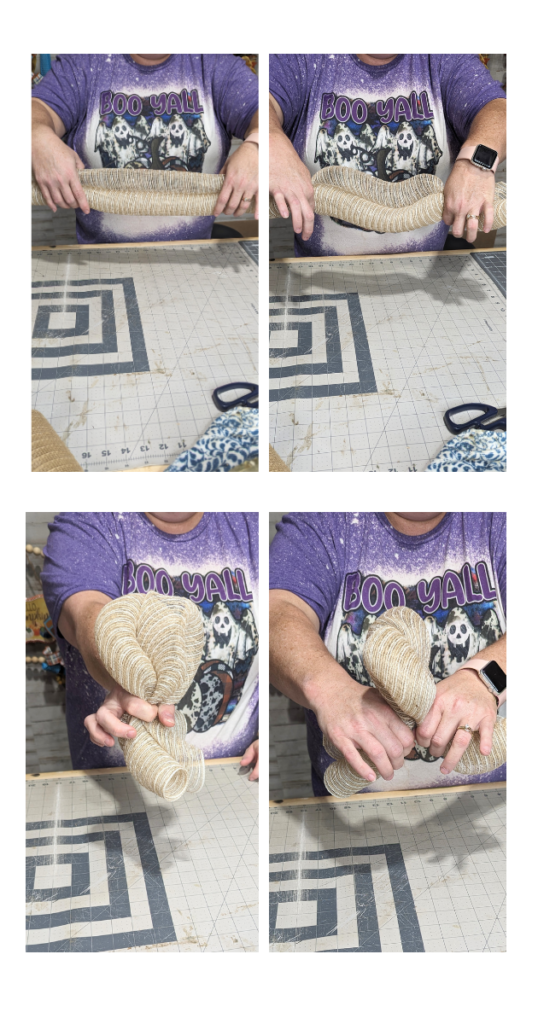
Who would have thought that “butt” would be a crucial term in wreath-making? Well, welcome to the wonderful world of crafting! For the 21″ burlap mesh, cut it into 24″ long pieces. Let the mesh curl in naturally from both ends until they meet at the center. Lay the mesh on the table with the slit side up, and gently pinch about 5 inches in from each end. Now, imagine you’re wrapping a piece of candy – fold your hands downward, pinching the two places you were holding. This creates a cruffle at the bottom and a cute little “butt” at the top. Place it between two pine ties on the wreath base with the cruffle facing outward and the butt towards the center.
Creating Wreath Magic
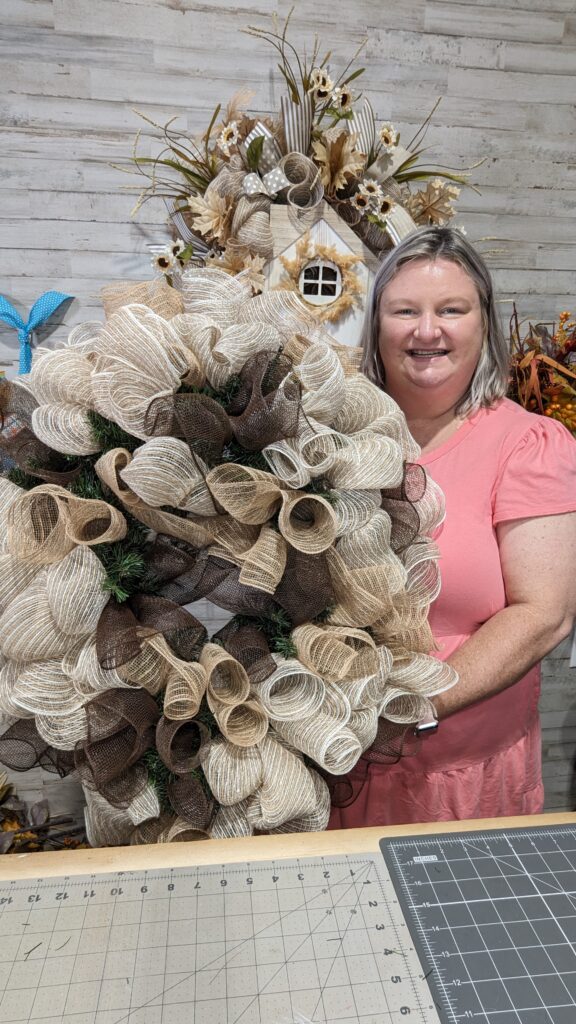
Now comes the real fun – weaving these beautifully crafted elements into a masterpiece. Start on the outer ring of the base and work your way in with a pattern that tickles your creative fancy. Our suggestion? Brown mesh, burlap, burlap with stripes, then repeat. Once you’ve filled the outer ring, move to the inner one. This time, place the butts facing the inner ring as you work your way around. Trust us, the combination of textures and colors will be an absolute visual delight.
For a step-by-step visual guide, head over to our YouTube channel and watch the complete tutorial. Don’t forget to hit that subscribe button – it’s not just free, it’s a way of supporting us and ensuring you never miss out on our crafting adventures.
Join the Wreath-Making Party!
We’re thrilled to have you join us on this creative journey. Crafting wreaths isn’t just an art; it’s a form of self-expression, and we can’t wait to see your unique twists on our techniques. Before we sign off, a huge thank you for being a part of our small-town wreath-making community. Your support has brought us to an exciting milestone of 30,000 followers on Facebook – and we’re just getting started!
Keep spreading the wreath-making love by inviting your friends to our page. And remember, there’s a treasure trove of wreath inspiration waiting for you on our website, smalltownwreathshop.com, and our other social media platforms. Until next time, happy wreath crafting, and may your creativity always bloom like the flowers on your wreaths.
Warm wreath wishes,
Craig and Melissa Bickham