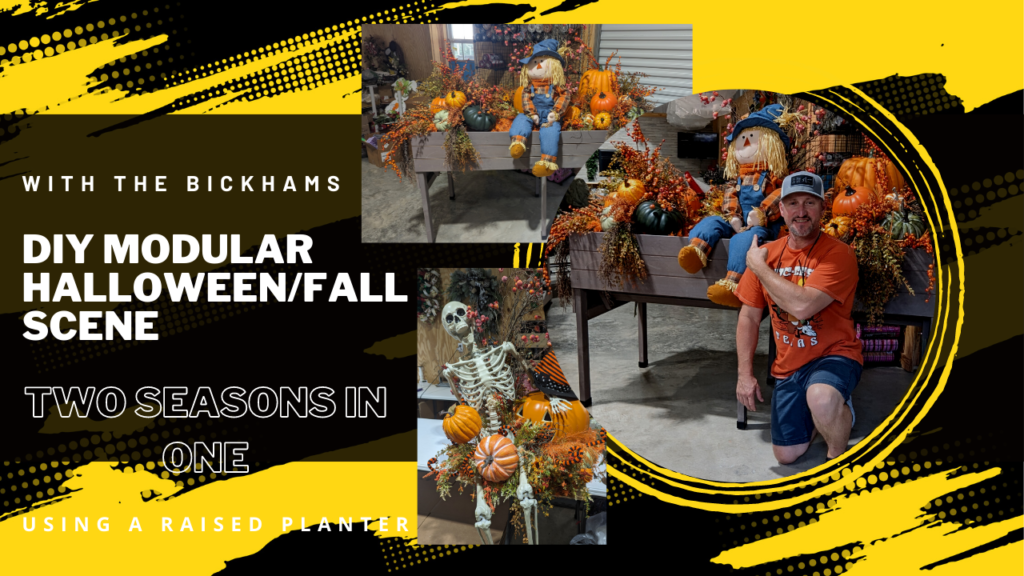
Introduction
As the leaves change colors and the air turns crisp, Fall brings with it a sense of coziness and warmth. Embrace the beauty of the season by creating a stunning modular Fall scene using a raised planter box from Tractor Supply as the base. In this blog, we will guide you through the process of assembling the planter box, adding floral foam and fall elements, and designing two centerpieces for different occasions: Halloween and the Fall season. This versatile design can be reused for various seasons and events, and you can even consider renting it out to photographers or event halls.
Materials You’ll Need
- Raised planter box from Tractor Supply
- 3/8-inch plywood
- Floral foam
- Pumpkins (real or artificial)
- Fall foliage (artificial)
- Fall picks and sprays with cranberries, branches, and leaves (artificial)
- Orange garland
- Hot glue gun and glue sticks
- Scissors
- Skeleton figure (4 to 5 feet tall, artificial)
- Cute scarecrow figure (4 feet tall, artificial)
- Other fall-themed decorations of your choice

Step 1: Assembling the Raised Planter Box
Follow the instructions provided with the raised planter box to put it together. Once assembled, install a piece of 3/8-inch plywood that is recessed below the top slat. Cut three pieces of plywood to fit in the top of the planter box, leaving enough room to remove each of them when needed.
Step 2: Preparing the Base
Glue a rectangle piece of floral foam onto each piece of plywood. The amount of floral foam you need will depend on the size of your pieces and the design you have in mind. Ensure that the foam is securely attached to the plywood.
Step 3: Decorating the Base
Take the orange garland and staple it around the outer part of each piece of plywood, covering the floral foam and creating a beautiful base for your fall arrangement. This will give a cohesive look to the entire scene.
Step 4: Designing the Centerpieces
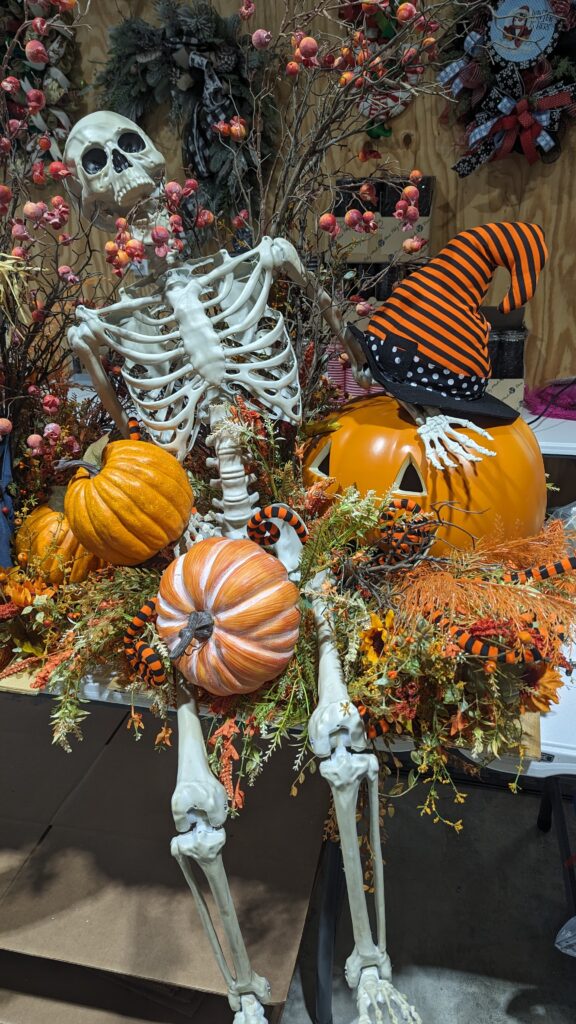
Centerpiece 1: Halloween Skeleton Scene
Position the skeleton figure in the center of one of the modular pieces. Surround it with pumpkins of different sizes and heights to add depth and visual interest. Use fall foliage, branches, and leaves to create a lush and haunting atmosphere. You can add eerie touches like artificial cobwebs or plastic spiders to enhance the spooky ambiance.
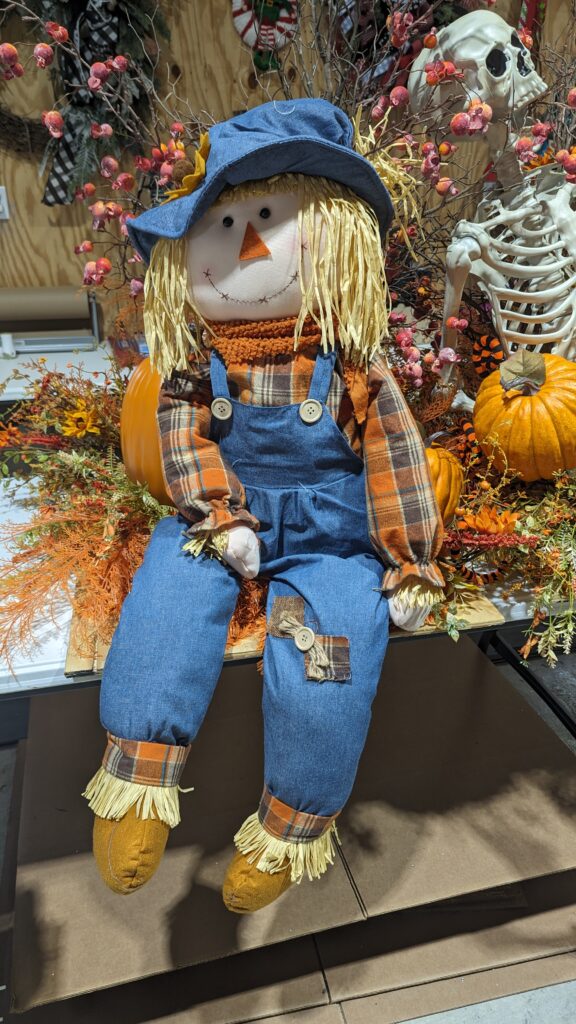
Centerpiece 2: Whimsical Fall Scarecrow Scene
For this centerpiece, place the cute scarecrow figure in the center of the second modular piece. Use a mix of pumpkins, fall picks, sprays, and other fall-themed decor to create a charming and inviting scene. Incorporate rich autumn colors and textures to make it feel cozy and festive.
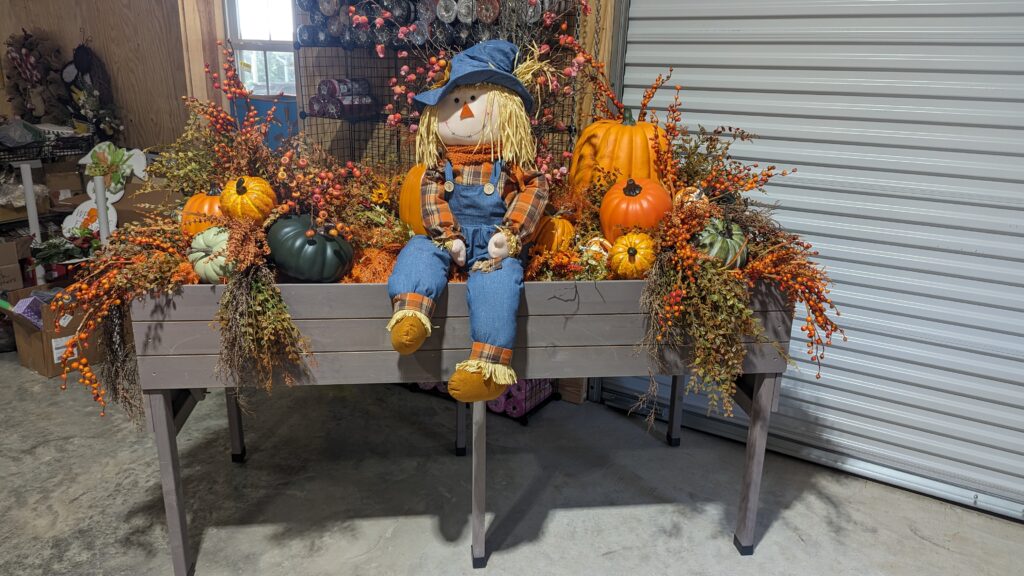
Step 5: Arranging the Scene
Now that you have two beautifully designed centerpieces, place each one on opposite ends of the raised planter box. Ensure that both pieces have some overhang around the box to create a cohesive look. You can add extra fall elements or decorations to fill any gaps and make the scene appear full and abundant.
Conclusion
Congratulations! You’ve successfully put together a modular Fall scene using a raised planter box as the base. With a Halloween-themed centerpiece and a whimsical Fall centerpiece, you’re ready to embrace the spirit of the season. The best part is that this design can be easily adapted for different seasons and events. Consider renting it out to local photographers or event halls to spread the joy of Fall and add a touch of magic to various celebrations. Get creative and enjoy the beauty of the season in your own charming and versatile Fall scene!
Conclusion
We hope you’ve been inspired by this delightful Fall scene tutorial! Bringing the beauty of autumn to life with a modular design not only lets you embrace the changing season but also offers endless possibilities for creativity and festive decor.
For more captivating DIY ideas and seasonal inspiration, don’t forget to subscribe to our With the Bickhams YouTube channel. We’ll be sharing more exciting projects, home decor tips, and heartwarming stories from our small town wreath shop.
Stay connected with us on our Small Town Wreath Shop social media pages, where you can find exclusive behind-the-scenes content, upcoming events, and special offers. Join our warm and welcoming community as we celebrate the charm of small-town living and the joy of crafting.
To explore our wide selection of handcrafted wreaths and other seasonal decorations, visit our website at https://smalltownwreathshop.com/. Each piece is made with love and care, adding a touch of warmth and elegance to your home or event.
Thank you for joining us on this creative journey. Let’s continue to spread the joy of Fall and make every season a special one!
Disclosure: We did not design or make this Modular Fall piece. Friends of ours, Jordan Matthew, and Kelea Newhouse came up with the idea, and design. We purchased the piece in a Silent Auction at a wreath making convention in Texas, and had to totally disassemble the piece to get it in the SUV to bring it home. We just love the design, and wanted to share it with y’all!
Thank you for supporting us,
Craig and Melissa Bickham, With the Bickhams and Small Town Wreath Shop
You are doing a great job on your blogs!
Awe thank you Mrs. Brenda❤️❤️❤️