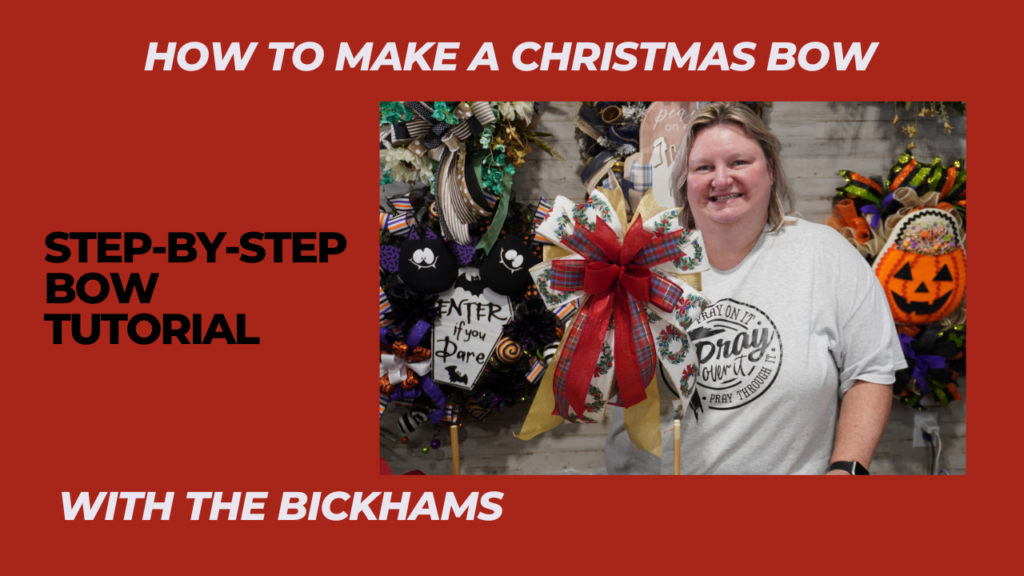
Creating a Christmas bow is a tradition as timeless as the holiday season itself, instantly transforming any space with a warm, festive touch. In Melissa’s latest YouTube tutorial, she shows you exactly how to make a beautiful, traditional Christmas bow to decorate your home. In this blog post, we’re sharing the story behind Christmas bows, tips on selecting the right ribbons, and why crafting your own bow can be such a meaningful addition to your holiday decor. Let’s dive into the charm, history, and creativity behind Christmas bows!
The Story and Tradition of the Christmas Bow
Bows have been symbols of unity, love, and celebration for centuries, especially during the holiday season. The Christmas bow, as we know it, began in Europe, where holiday decorations included natural elements like pine, holly, berries, and mistletoe, often tied together with ribbons. Over the years, bows were added to wreaths, gifts, and trees, signifying the joy of giving and the gathering of loved ones. It’s a timeless addition that reminds us of Christmases past, when decorations were simple yet full of heart.
When we think about decorating for Christmas, a bow brings that instant nostalgic feel of a classic holiday. Placed on a wreath or garland, it becomes a symbol of warmth and welcome, while on a gift, it completes the look of thoughtfulness and care. Crafting your own Christmas bow this season is not only a way to carry on a treasured tradition but also a chance to create a one-of-a-kind piece that represents your personal style and holiday spirit.
Picking the Perfect Ribbon for Your Bow
If you want your bow to look beautiful and full, the type of ribbon you choose is key. In her tutorial, Melissa uses two sizes of wired ribbon—2.5-inch and 1.5-inch widths. This combination adds variety, and the different sizes create depth in the bow. Here’s why choosing the right ribbon matters:

Why Wired Ribbon Is a Must
Wired ribbon is essential when it comes to making a Christmas bow that holds its shape. Unlike standard ribbon, wired edges allow you to mold and fluff your loops, giving your bow that perfect structured look that doesn’t wilt. You can bend and arrange wired ribbon to make your bow look voluminous and symmetrical, which is especially important for wreaths or garlands that will be on display for weeks.
Quality Matters
For a bow that lasts and looks polished, opt for high-quality ribbon. A well-made ribbon not only has a richer color and texture but also holds up better over time. Quality ribbons are usually thicker, making them easier to work with, especially when layering or shaping. Using high-quality ribbon makes the process of bow-making more enjoyable, and the finished product speaks for itself—your bow will look fuller, more vibrant, and more professional.
Coordinating Colors and Patterns
One of the best parts of creating your own Christmas bow is picking colors and patterns that match your holiday decor. Here are a few ideas for choosing the right combination:

- Traditional Christmas Colors: You can never go wrong with classic reds, greens, and golds. They bring that timeless Christmas feel and complement nearly every holiday theme.
- Patterned Accents: Mixing patterns like plaid, stripes, or polka dots with solid colors adds dimension to your bow, giving it that extra pop. Plaids and gingham are especially popular for adding a cozy, homey feel to the decor.
- Modern Color Choices: For a fresh look, consider pairing neutrals like ivory, silver, or even blush tones with a splash of metallic for added sparkle.
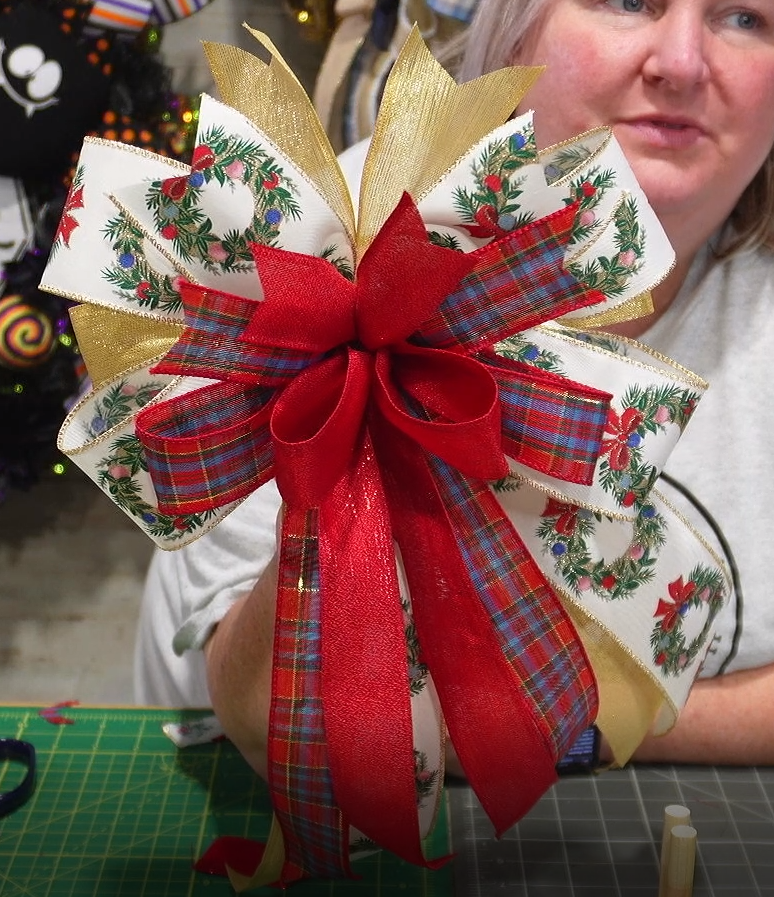
Melissa’s bow uses a combination of traditional colors and playful patterns, creating a festive look that adds warmth and charm to her holiday decorations. Experimenting with different ribbons is part of the fun and allows you to make a bow that perfectly fits your style and home.
Using the 4-in-1 ProBow Bow Maker
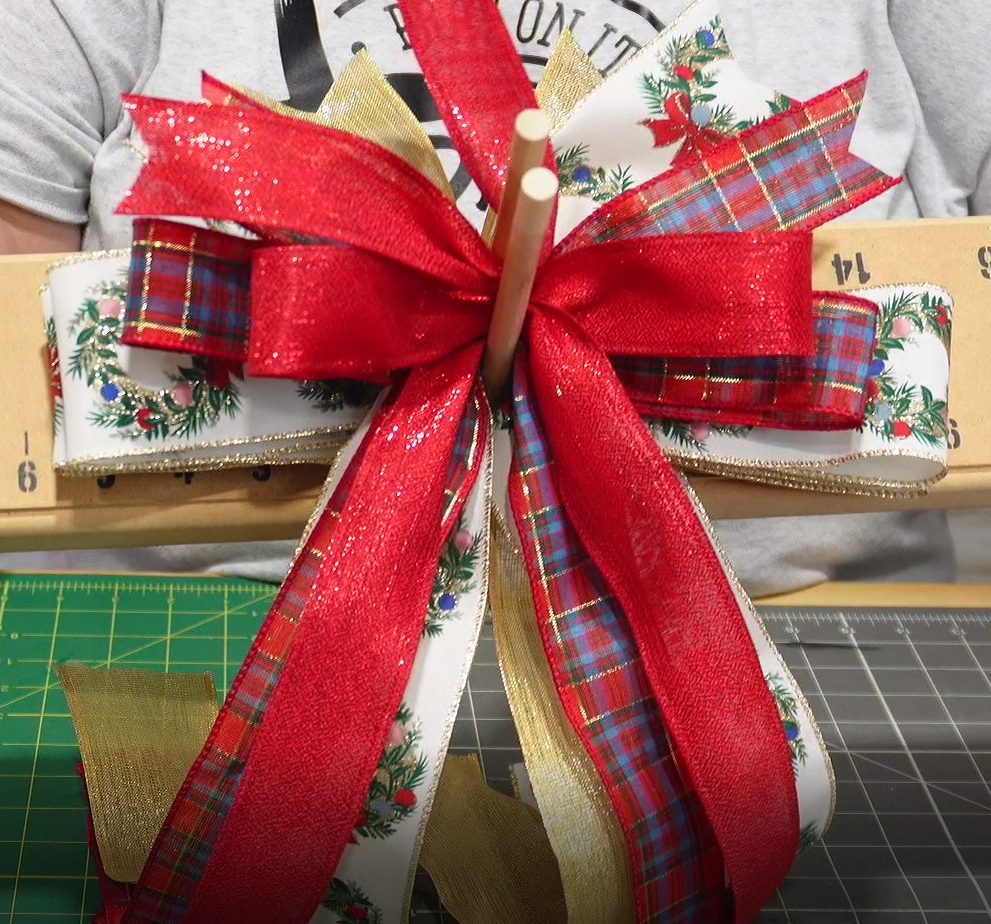
The ProBow Bow Maker is an incredibly helpful tool for both beginner and experienced crafters. This handy gadget helps you hold ribbons in place and guides you through making even, balanced loops. The 4-in-1 ProBow is especially helpful for making larger bows with multiple layers, giving your bow a full, structured look with minimal effort.
With the ProBow, you’ll have an easier time measuring and creating consistent loops and layers, which is a big help when working with wider ribbons or creating complex designs. Melissa’s tutorial walks you through using the ProBow, showing you how this tool can simplify the process and help you achieve a beautiful result.
If you’re interested in trying the ProBow Bow Maker, you can check it out in our With the Bickhams Amazon Storefront. It’s one of our favorite crafting tools, and we recommend it for anyone who loves making bows for every season.
Step-by-Step Guide to Making a Traditional Christmas Bow
To make a bow like the one Melissa demonstrates, start by gathering your materials and setting up your ProBow Bow Maker (or follow along with her if you’re hand-tying):
- Choose Your Ribbons: Select two sizes of wired ribbon—Melissa uses a 2.5-inch wide ribbon as the base and a 1.5-inch wide ribbon as an accent layer. The contrast in sizes adds dimension to your bow.
- Make the Base Loops: Using the 2.5-inch ribbon, make the base loops of your bow. This layer should be large enough to serve as the foundation, with each loop looking balanced and even.
- Add the Accent Ribbon: Now, add the 1.5-inch ribbon, layering it over the base ribbon. This adds color and contrast, giving your bow that professional, layered look.
- Fluff and Shape: Once you’ve secured the bow, take time to fluff and shape each loop. This is where the wired ribbon shines! Adjust and mold the ribbon to give your bow a full, lively appearance.
- Attach Tails: Add a pair of long tails to the bottom of your bow. These tails can be left hanging, curled, or even layered with another ribbon. Melissa’s tutorial shows you just how to position and shape the tails for the best effect.
Tips for Making the Perfect Christmas Bow
- Measure as You Go: Make sure your loops and tails are even by measuring as you go. This helps you create a balanced, symmetrical bow that looks professional.
- Layer Wisely: Start with the largest ribbon at the bottom, building up to smaller ribbons on top. This layering technique creates depth and gives your bow a lush look.
- Don’t Rush: Crafting a beautiful bow takes a little patience. Take your time with each layer, ensuring everything is even and secure.
- Fluff the Loops: When finished, fluff each loop carefully to add volume and shape. This final touch gives your bow a polished, professional finish.

Adding Your Bow to Holiday Decor
Once you’ve mastered bow-making, you’ll find endless ways to incorporate these beauties into your Christmas decor! Here are a few creative ideas:
- On Your Tree: A large bow can make a stunning tree topper, or you can place smaller bows throughout the branches.
- Wreaths and Garlands: Attach your DIY bow to wreaths, garlands, or swags to add a personal touch.
- Gifts: There’s nothing like a handmade bow to make a gift extra special. Wrap your present and add a beautiful bow to complete the look.
- Staircases and Doorways: Decorate your stair railings and door frames with festive bows for a cohesive, cheerful holiday look.
Final Thoughts on Making Your Own Christmas Bow
Creating your own Christmas bow is a wonderful way to add a personal touch to your holiday decor, capturing that timeless charm of a classic Christmas. Melissa’s tutorial makes it easy to follow along, and with the ProBow Bow Maker, you’ll find that crafting a perfect bow is both simple and fun. Making a bow allows you to explore your creativity, choose colors and patterns that match your style, and create a decor piece that’s uniquely yours.
Whether you’re new to crafting or a seasoned pro, making a Christmas bow is a rewarding and festive way to get into the holiday spirit. So grab your ribbon, set up your bow maker, and enjoy this holiday craft with us. Don’t forget to subscribe to our With the Bickhams YouTube channel for more holiday DIYs, recipes, and home decor inspiration!
Thank you for joining us, and happy holidays from With the Bickhams!
Watch Melissa’s Full Tutorial Below!
Explore our Amazon Storefront for all the supplies we use and recommend, including the Pro Bow Bow Maker, which we absolutely love for crafting perfect bows!
Affiliate Disclaimer and Legal Disclaimer
Affiliate Disclaimer: There are affiliate links on this page. If you click a link and make a purchase, I may receive compensation at no additional cost to you.
Legal Disclaimer: I cannot guarantee any results. All the people on this page who use this product may have results that vary. No guarantees of wealth, fame, or success.

