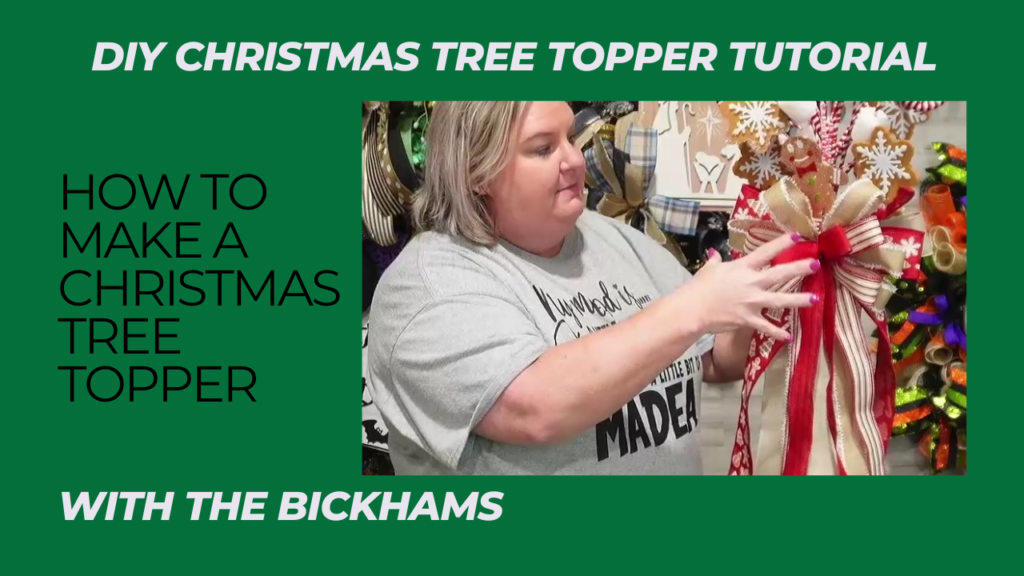
Hey y’all, Craig here from With the Bickhams, and today I’m super excited to share Melissa’s latest crafting project — a Gingerbread Christmas Tree Topper that’s sure to be the perfect finishing touch to your holiday decor. If you’re someone who loves getting crafty, especially around the holidays, then this project is for you! Even if you’re not a seasoned crafter, don’t worry — Melissa walks you through everything step-by-step in her YouTube tutorial, making it easy to follow along and create your own tree topper masterpiece.
Tree toppers are such a special part of Christmas decorating, and the best part is, when you make your own, it’s completely customizable to your style. We’re going with a gingerbread theme in this tutorial, but the beauty of this project is that you can switch up the colors and theme to match your decor. The possibilities are endless!

Supplies You’ll Need
Before we dive into the steps, let’s talk about the supplies you’ll need to create your Gingerbread Christmas Tree Topper. Melissa sourced some of her items from Hobby Lobby and Small Town Wreath Shop, and they’re easy to find in most craft stores or online.
Here’s what you’ll need:
- Scissors
- Wire cutters
- 6” zip ties (to hold everything together)
- 2.5-inch Gingerbread wired ribbon (for the bow)
- Three different 1.5-inch wired ribbons in coordinating colors (for the bow tails)
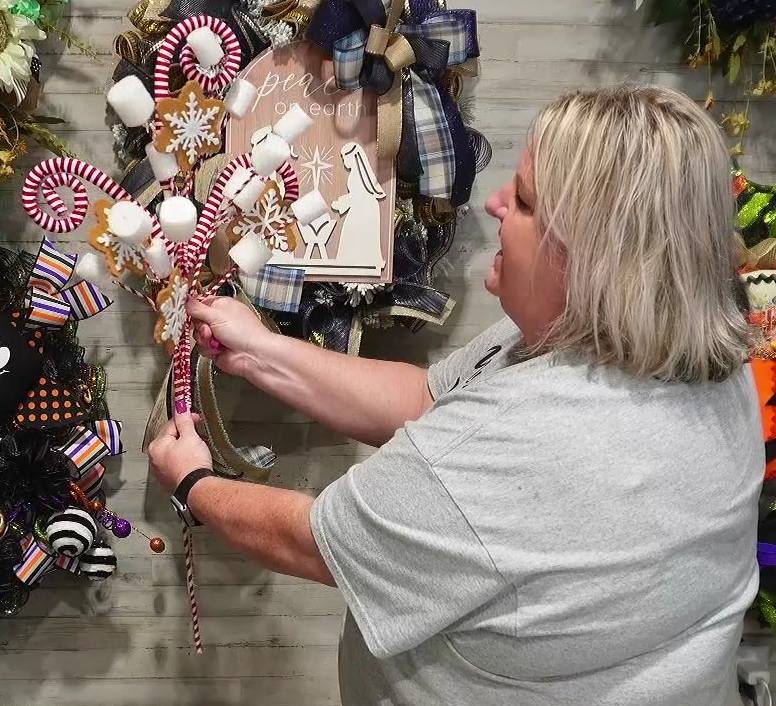
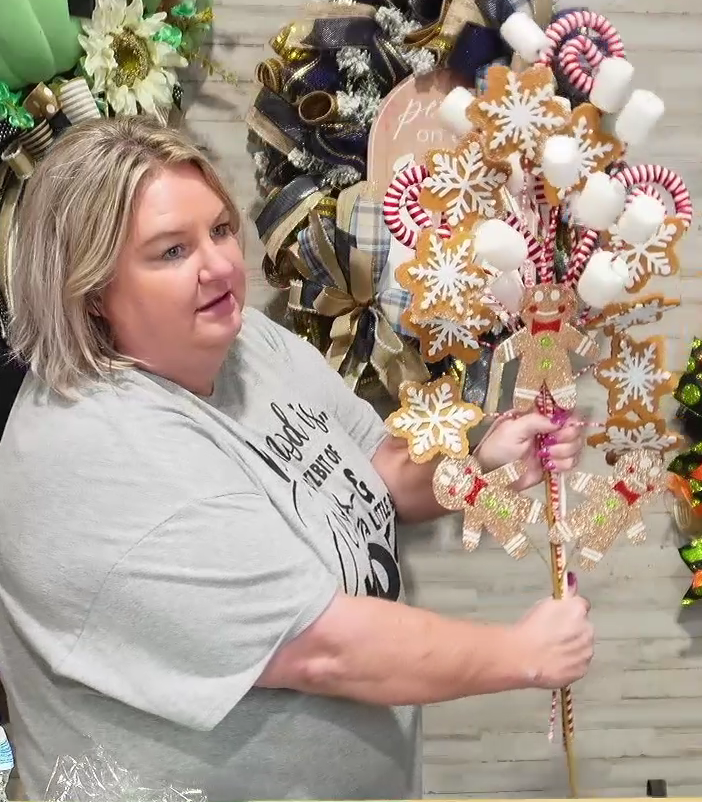
- Gingerbread-themed picks (Melissa used gingerbread men, marshmallows, and whimsical swirls)
You can customize the colors and styles to suit your taste — use different themes like traditional Christmas, rustic woodland, or modern glam. Whatever you choose, make it your own!

Step-by-Step Instructions
1. Make Your Bow
One of the main features of this tree topper is a beautiful bow. If you’re comfortable making a bow, you can follow Melissa’s instructions to create one using wired ribbon. But if you’d like more detailed guidance, Craig offers a full, in-depth bow-making tutorial available for purchase on our Etsy shop. You can grab that (Click Here) and learn how to make the perfect bow for any project!
And don’t worry — if making a bow feels overwhelming, you can always opt for a premade bow from a craft store. There’s no shame in that! The idea is to create something that fits your tree and makes decorating easier for you.
For this project, you’ll want to use a 2.5-inch gingerbread-themed wired ribbon as the main part of the bow and coordinate it with three different 1.5-inch wired ribbons for the tails. Make sure to leave 36-inch tails or longer so they drape down the tree beautifully.
Once your bow is ready, set it aside, and we’ll attach it to the tree topper later.
2. Layer Your Picks
Now it’s time to start building your tree topper with the gingerbread-themed picks. This part is so much fun because it allows you to be creative and bring your vision to life.
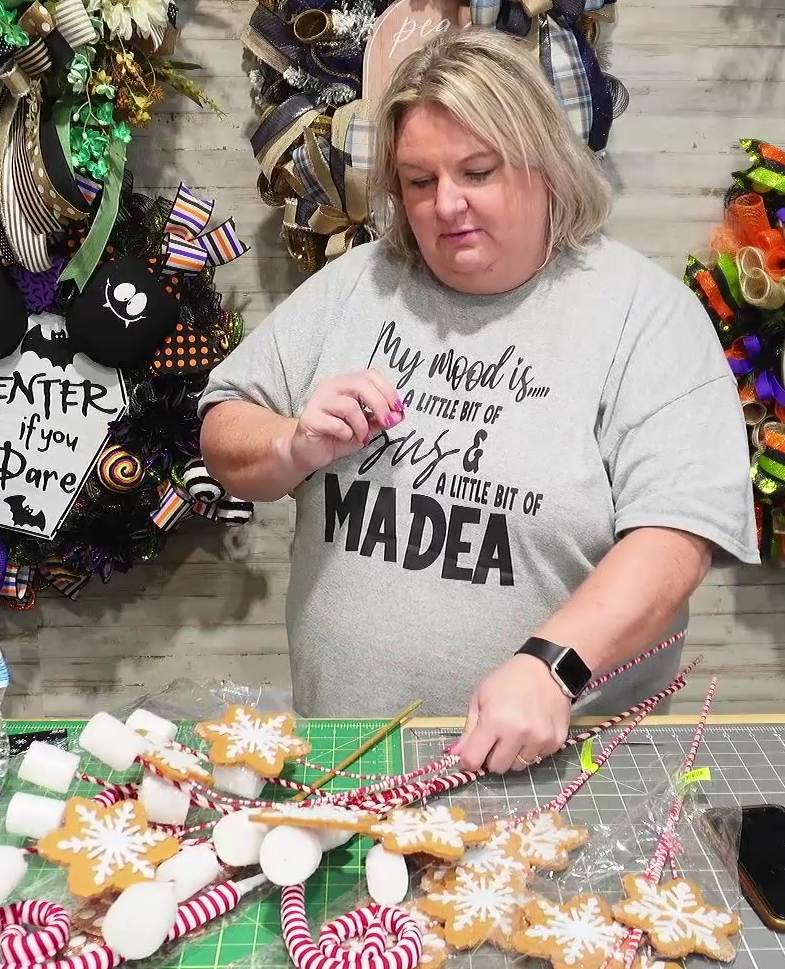
Start by choosing your picks and laying them out. For this topper, Melissa used gingerbread men, marshmallow picks, and whimsical swirl picks. You can pick any style that fits your tree — go with traditional Christmas picks like pinecones, berries, and glittery stems, or choose something modern and trendy.
When layering your picks, always start with the longest and fullest picks at the base. This gives your topper height and volume. Layer shorter, more detailed picks on top to create dimension and visual interest. The key is to not cut the stems of your picks! Keep them long so you can secure them properly to the tree later.
Layer each pick on top of the next, arranging them however they look best. The more variety in texture and color, the more dynamic your topper will look. Play around with the placement until you get a look that you love.

3. Secure with Zip Ties
Once you’re happy with the arrangement of your picks, it’s time to secure them all together. Use zip ties to hold the spines of the picks together. You want the spines to be tight and sturdy, as this will create the “backbone” of your tree topper.
Don’t be afraid to use multiple zip ties if needed to hold everything together securely. After you’ve tied everything up, you can use your scissors or wire cutters to trim the ends of the zip ties so they’re not visible.
4. Add Your Bow
With the picks secured, it’s time to add your bow. Attach it right below the picks using a pipe cleaner or another zip tie. Make sure the tails of the bow drape beautifully down the tree to add extra flair and movement.
Whether you’ve made your bow yourself or used a premade bow, this step is where the topper really starts to come together. The bow adds that finishing touch and pulls the whole look together.
5. Attach the Topper to Your Tree
The last step is attaching your beautiful new topper to your tree! Slide the “spine” of your tree topper down the spine of the tree, securing it with zip ties, chenille stems, or tie wire. Make sure it’s centered and secure so it stands tall and proud.
Once it’s attached, fluff out the picks and adjust the bow as needed to make everything look full and even. Don’t be afraid to tweak it until it looks just right!
Step back and admire your work — you just made a gorgeous custom tree topper, and it’s going to be the star of your holiday decor!
Why Tree Toppers Are the Perfect Holiday Craft
Tree toppers are more than just decorations; they’re the focal point of your Christmas tree. They’re the piece that everyone notices first, and they can really set the tone for your whole tree.
The beauty of making your own tree topper is that you can customize it to fit your personal style. Whether you want something classic and traditional, or bold and modern, you can choose colors and themes that match your vision. Plus, it’s such a fun and rewarding project to make yourself!
If you’re feeling extra crafty, you can use the same method to make toppers for wreaths or garlands. The possibilities are endless, and once you’ve made one, you’ll feel confident creating more decorations that are completely unique to you.
Tips for Success
- Play with placement. Don’t rush through the layering process — experiment with different arrangements until you find the perfect look.
- Mix textures. Using a combination of glittery picks, natural elements, and whimsical pieces will make your topper stand out.
- Secure tightly. When attaching your topper to the tree, make sure it’s secure so it doesn’t shift or lean.
- Bow tails matter! Leaving long bow tails adds drama and elegance to your tree topper. Let them drape down your tree for that extra festive touch.
Final Thoughts
We hope this tutorial has inspired you to get creative with your Christmas decor this year! Making your own Gingerbread Christmas Tree Topper is such a fun project, and it’s a great way to add a personal touch to your holiday tree. Plus, with the step-by-step guidance from Melissa’s YouTube tutorial, you’ll feel confident putting it together, even if you’re new to crafting.
And don’t forget, if you need more help with bow-making, Craig’s full in-depth tutorial is available on Etsy! But if bows aren’t your thing, no worries — a premade bow works just as well and still gives you that beautiful finished look.
Be sure to watch the YouTube video tutorial below and follow along with Melissa as she creates this gorgeous tree topper. Don’t forget to check out our Amazon Storefront for all the tools and supplies we use in our projects.
Thank y’all so much for supporting us, and happy crafting from With the Bickhams! 🎄
Watch the YouTube tutorial below!
Looking for more DIY holiday projects? Be sure to subscribe to our With the Bickhams YouTube channel for more Christmas crafts, recipes, and home decorating ideas.
Affiliate Disclaimer and Legal Disclaimer
Affiliate Disclaimer: There are affiliate links on this page. If you click a link and make a purchase, I may receive compensation at no additional cost to you.
Legal Disclaimer: I cannot guarantee any results. All the people on this page who use this product may have results that vary. No guarantees of wealth, fame, or success.

