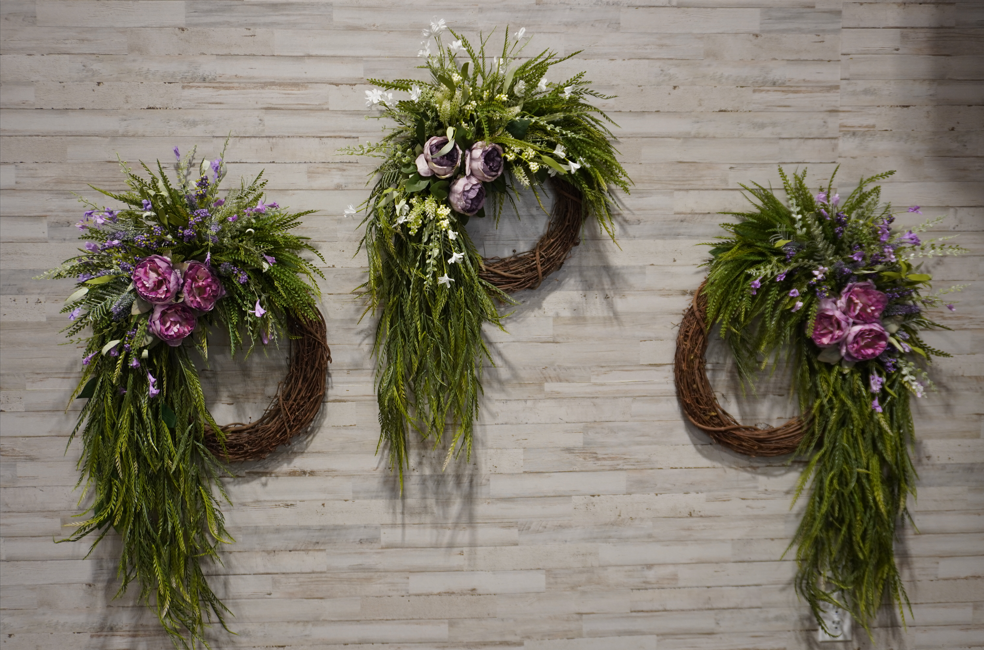
Hello, friends! It’s Melissa from Small Town Wreath Shop, and today I’m so excited to share with you the process of making a stunning Grapevine wreath. This design is trendy, elegant, and perfect for any home decor style, from rustic to modern. Whether you’re a seasoned wreath maker or just getting started, this project is something anyone can tackle with a little bit of creativity and patience.

The Inspiration Behind This Design
I recently had the pleasure of working on a custom order for a lovely customer who wanted a mirroring pair of wreaths for their double door entryway. There’s something so satisfying about creating something that perfectly complements a space, especially when it’s for a double door! The wreaths I made used an 18″ Grapevine base, three pretty pink peonies, some delicate purple filler flowers, and the star of the show—long draping Sawgrass that I found at Hobby Lobby. The combination of these elements gives the wreaths an elegant yet understated look that works beautifully even against a rustic background.
The idea for this design came together while I was browsing through floral picks at Hobby Lobby. When I spotted the Sawgrass, I knew I had to use it as the focal point of the wreath. Its draping effect adds movement and grace, while the pink peonies and purple filler flowers bring a pop of color that’s just the right amount of bold.
Getting Started: Materials and Tools
Before we dive into the step-by-step process, let’s talk about what you’ll need to make this gorgeous Grapevine wreath:
Materials:
- 18″ Grapevine wreath base
- Three pink peonies
- Purple filler flowers
- Long draping Sawgrass (found at Hobby Lobby)
- Gorilla Hot Glue (Click Here to see it in our Amazon Storefront)
- Floral picks or stems
Tools:
All of these materials and tools are easy to find, and they make the wreath-making process so much smoother. I always use Gorilla Hot Glue because it provides a strong hold that’s essential for keeping all the elements of the wreath in place. An electric skillet is perfect for melting the glue evenly, and a good pair of wire cutters will save your hands and make the process much easier.
The Joy of Grapevine Wreaths
Let me tell you, working with Grapevine wreaths has become one of my favorite parts of wreath-making. There’s just something so satisfying about seeing the design come to life as you cut and glue the flowers, greenery, and other elements into place. Grapevine wreaths are also incredibly versatile. They can be dressed up with luxurious flowers and greenery for a more formal look, or kept simple and rustic for a more casual vibe.
I find that Grapevine wreaths are perfect for beginners because they’re so forgiving. The natural texture of the Grapevine base adds instant charm, and it’s easy to adjust the placement of flowers and greenery as you go. Plus, the open spaces between the vines make it easy to tuck in stems and secure them with glue.
Step-by-Step: Making the Wreath
Now, let’s walk through the process of making this beautiful Grapevine wreath.
Step 1: Preparing Your Work Area
Before you start, make sure you have all your materials and tools laid out in front of you. I like to work on a clean, flat surface with plenty of room to spread out my flowers, greenery, and tools. Plug in your electric skillet and start heating up the Gorilla Hot Glue.
Step 2: Cutting the Floral Stems
Using your wire cutters, start by cutting the stems of your pink peonies, purple filler flowers, and Sawgrass to the desired length. It’s important to leave enough length on the stems so you can easily tuck them into the Grapevine base and secure them with glue. I like to vary the lengths slightly to add dimension and depth to the wreath.
Step 3: Arranging the Sawgrass
The Sawgrass is the star of this design, so I always start by placing it first. Take the longest pieces and arrange them so they drape gracefully around the edges of the Grapevine base. You want to create a flowing, natural look that draws the eye around the wreath. Once you’re happy with the placement, use the Gorilla Hot Glue to secure the Sawgrass in place.
Step 4: Adding the Pink Peonies
Next, it’s time to add the pink peonies. These flowers are the focal points of the wreath, so I like to space them evenly around the Grapevine base. Place one peony near the top, one on the side, and one near the bottom, or wherever you think they’ll look best. Again, secure them with hot glue, making sure they’re firmly in place.
Step 5: Incorporating the Purple Filler Flowers
The purple filler flowers add a lovely pop of color and help tie the whole design together. Use these to fill in any gaps between the Sawgrass and peonies, creating a balanced, cohesive look. I like to tuck the filler flowers into the Grapevine base at varying angles to create a more natural, organic feel. Secure each piece with hot glue.
Step 6: Final Touches
Once all the elements are in place, take a step back and look at the wreath as a whole. This is your chance to make any adjustments—maybe you want to add a little more Sawgrass, or shift a peony slightly. Once you’re satisfied with the overall look, go ahead and secure any loose stems or flowers with a final dab of hot glue.
Dealing with Anxiety During Creative Projects
I want to take a moment to talk about something personal—dealing with anxiety during creative projects, especially custom orders. Even though I’ve been making wreaths for years and know my abilities, I still sometimes let anxiety creep in, making me second-guess myself. It’s easy to feel overwhelmed, especially when working on a custom order that’s meant to perfectly match a customer’s vision.
One thing I’ve learned is that pushing through these uncomfortable moments is essential for growth, both personally and professionally. Every time I step outside of my comfort zone and take on a challenging project, I come out the other side with more confidence and new skills. So, if you’re ever feeling anxious or unsure about a project, remember that you’re not alone. It’s okay to feel that way, and it’s okay to take a moment to breathe and refocus.
For me, working with Grapevine wreaths has been a huge confidence booster. The process is so hands-on and creative that it helps quiet my anxiety and allows me to focus on the joy of creating something beautiful. If you’re struggling with anxiety, I encourage you to find a creative outlet that brings you peace and satisfaction, whether it’s wreath-making or something else entirely.
Simple Wreath-Making Tips for Beginners
If you’re new to wreath-making, don’t worry! Here are a few simple tips to help you get started:
- Start with a Grapevine Base: Grapevine wreaths are perfect for beginners because they’re easy to work with and naturally beautiful. The base does a lot of the work for you, so you can focus on arranging your flowers and greenery.
- Choose a Focal Point: Decide on the star of your wreath—whether it’s a particular flower, greenery, or decorative element. Place this focal point first, and then build the rest of the design around it.
- Use Quality Glue: I always recommend using Gorilla Hot Glue for its strong hold. Make sure your glue is fully heated before you start applying it to ensure it adheres properly.
- Don’t Overthink It: Wreath-making is an art, not a science. There’s no right or wrong way to design a wreath, so trust your instincts and have fun with it.
- Practice Makes Perfect: The more you practice, the more confident you’ll become. Don’t be afraid to experiment with different styles, colors, and materials.
Join Melissa’s Creative Table
If you’re interested in learning more about wreath-making or other creative projects, I invite you to join my monthly subscription group, Melissa’s Creative Table. In this private online setting, I share detailed tutorials, tips, and tricks for creating beautiful, handmade designs. It’s also a supportive community where we can all learn and grow together. Whether you’re a beginner or an experienced crafter, there’s something for everyone in this group. I’d love to have you join us!
Watch the Wreath-Making Process
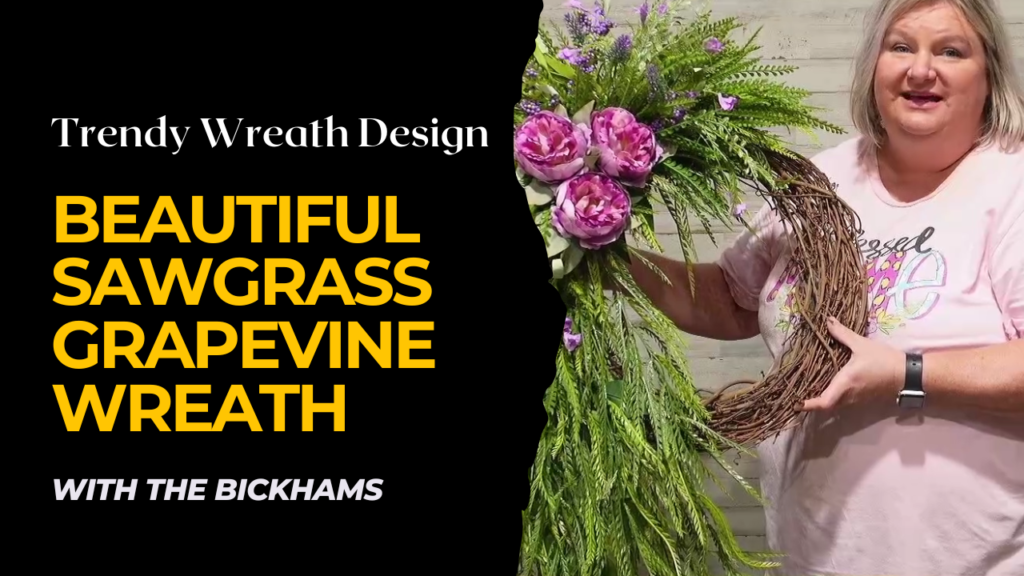
To see the full process of making this beautiful Grapevine wreath, be sure to watch the YouTube video below. I walk you through each step, sharing tips and insights along the way. Watching the video is a great way to see how the design comes together in real-time and pick up any additional tricks that can help you in your own wreath-making projects.
Stay Connected with Us
Before you go, make sure to follow us on all our social media pages! You can find Small Town Wreath Shop and With the Bickhams on Facebook, Instagram, Pinterest, and more. We love sharing our latest projects, tips, and behind-the-scenes moments with our followers, and we’d be thrilled to have you join our online community.
Don’t forget to subscribe to our YouTube channel as well! By subscribing, you’ll be the first to know when we upload new videos, whether it’s a wreath-making tutorial, a product review, or a glimpse into our everyday life. We’re so grateful to have such a supportive community, and we always love welcoming new friends.
Affiliate Disclaimer and Legal Disclaimer
Affiliate Disclaimer: There are affiliate links on this page. If you click a link and make a purchase, I may receive compensation at no additional cost to you.
Legal Disclaimer: I cannot guarantee any results. All the people on this page who use this product may have results that vary. No guarantees of wealth, fame, or success. But hey, at least you tried.
Thank you so much for visiting our blog today! I hope this post has inspired you to get creative and maybe even try your hand at making your own Grapevine wreath. If you enjoyed this post, please share it with someone who might also love it. We can’t wait to see you again soon—until then, happy crafting!

