Hey there, my BBQ friends! Craig here from With the Bickhams, and today I’m sharing a smoking adventure that didn’t quite go as planned. In my latest video, “How Not to Smoke a Top-Round Roast,” I attempted to smoke a couple of top-round roasts that Melissa found on sale at Winn-Dixie. This was my first go at this cut of meat, and let’s just say, I learned a lot from my mistakes. So, let’s dive into the details and share some lessons learned along the way.
The Plan
Setting the Stage
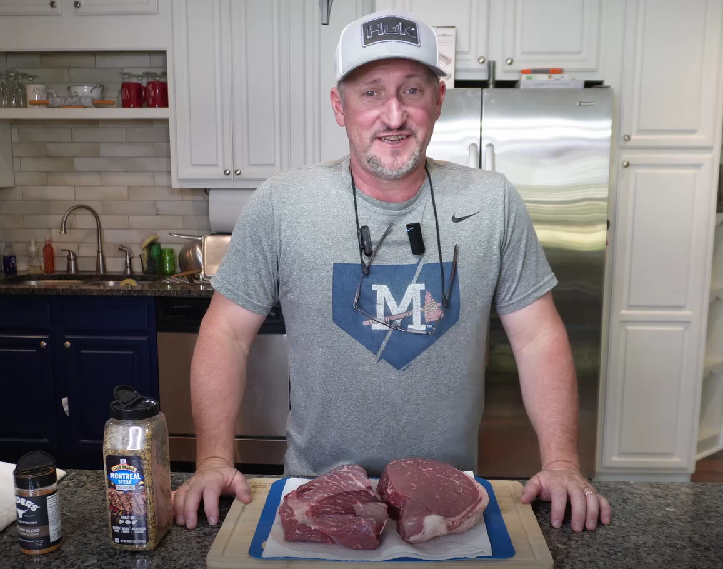
Melissa got a great deal on some top-round roasts, and I thought it would be a fun challenge to try smoking them. I started by cleaning the roasts and rubbing them with olive oil as a binder. I generously seasoned them with Montreal Steak seasoning and topped them off with Kinder’s Woodfire Blend.
The Smoking Plan
My plan was simple: smoke the roasts at 225 degrees F for about 7 hours, basting with apple juice every couple of hours, and pull them off when they hit an internal temp of 165 degrees. I had this vision of cutting the smaller roast into 1-inch chunks to simulate burnt ends, and slicing the larger one for a brisket-like experience.
The Reality
Execution and Adjustments
Well, things didn’t go quite as planned. I wrapped the roasts in a pan with foil and put them back on the smoker, intending to pull them off at 200 degrees. However, when I checked the temperature, they didn’t feel tender enough, so I decided to leave them on for another hour.
The Mistakes
The roasts reached almost 218 degrees, and while they felt more tender, they were drying out. I had covered the “fake burnt ends” with pats of butter, apple juice, hot honey, brown sugar, and some BBQ sauce, which helped a bit, but the results were mixed. The smaller roast was slightly more tender, but the larger one ended up too dry to slice, so we opted to shred it instead.
Lessons Learned
Do Your Research
One of the most important things I’ve learned is the value of doing your research. When it comes to smoking meats, following a well-tested recipe can make all the difference. Researching recipes gives you a solid foundation to start with, and understanding the specific needs of the cut of meat you’re working with is crucial.
Trust Your Equipment
Another key takeaway is the importance of trusting your equipment. My ThermoPro digital thermometer was telling me to pull the roasts at around 197 degrees, but I ignored it and paid the price. These tools are designed to help us achieve the best results, so listen to them – most of the time. Of course, there are moments when a good cook relies on feel or gut instinct, but combining all the methods and skills you’ve learned will generally lead to better outcomes.
Have Fun and Learn
Not everything comes out perfect every time, and that’s okay. Part of the joy of cooking, especially BBQ, is learning and experimenting. Even though I was disappointed with the results, the meat still had great flavor, and I enjoyed the process. Remember, it happens to the best of us, and it’s all about having fun and learning along the way. Don’t beat yourself up over a little dry meat – just laugh it off and enjoy the journey.
My Z Grill Model 700D3 Experience
Why I Love My Z Grill
One of the key players in my smoking setup is the Z Grill Model 700D3. This pellet grill has made my smoking adventures so much easier and more enjoyable. With its precise temperature control and even heat distribution, I can focus on perfecting my recipes without constantly babysitting the grill.
Features of the Z Grill 700D3
- Precise Temperature Control: The digital controller maintains consistent temperatures, making it easy to achieve the perfect cook.
- Large Cooking Area: With 700 square inches of cooking space, I can smoke multiple cuts of meat at once.
- Versatility: The Z Grill 700D3 isn’t just for smoking. I use it to grill, bake, roast, and even sear.
Using the Z Grill for This Cook
For this top-round roast, I set my Z Grill to 225 degrees F and let it work its magic. The grill maintained a steady temperature throughout the cook, and the built-in probe made it easy to monitor the internal temperature of the meat. Even though I made some mistakes, the Z Grill performed flawlessly.
I used Bear Mountain’s Gourmet Blend Pellets. You can Click here to check them out!
Detailed Instructions and What Went Wrong
Preparation
- Clean and Season the Meat:
- Clean the top-round roasts and rub them with olive oil.
- Generously season with Montreal Steak seasoning and Kinder’s Woodfired Garlic Blend.
- Smoking Plan:
- Smoke at 225 degrees F for 7 hours.
- Baste with apple juice every couple of hours.
- Aim to pull off the smoker at an internal temp of 165 degrees.
The Smoking Process
- Initial Smoking:
- Started smoking at 9:00 AM.
- Kept the smoker at a steady 225 degrees F.
- Mid-Smoke Adjustments:
- At the 5-hour mark, I checked the internal temp and basted with apple juice.
- Wrapped the roasts in foil and placed them back on the smoker.
- Final Stages:
- Increased the smoker temperature to 275 degrees F for the last hour.
- Intended to pull at 200 degrees but let them go to 218 degrees.
- Added pats of butter, apple juice, hot honey, brown sugar, and BBQ sauce to the “burnt ends.”
- Opted to shred the larger roast due to dryness.
The Results
- The smaller roast was a bit more tender but still not ideal.
- The larger roast dried out and had to be shredded instead of sliced.
Conclusion
While this smoking adventure didn’t turn out as expected, it was a valuable learning experience. It’s a reminder to do your research, trust your equipment, and enjoy the process, even when things don’t go perfectly. The flavor was still great, and it was fun to try something new. Remember, BBQ is all about experimentation and enjoying the journey. Don’t beat yourself up over a little dry meat – just laugh it off and enjoy the process.
My Favorite Tools
- Coolina Knives: I used my Coolina Knives for all the prep work. These knives are sharp, durable, and make prepping meat a breeze.
- Z Grill Model 700D3: This grill has been a game-changer for me, and I highly recommend it for anyone serious about smoking and grilling.
Thanks for joining me on this smoking adventure. I hope you found this guide helpful and maybe even got a laugh from my mistakes. If you try smoking a top-round roast or have any BBQ tips to share, please leave a comment below. I’d love to hear from you!
Don’t forget to check out our With the Bickhams Cookbook Volume 1 for more delicious recipes and our Amazon storefront for all your cooking essentials.
Happy smoking, and I’ll see you next time!
Watch the YouTube video tutorial below!
By following these steps, you’ll have a better understanding of how to smoke a top-round roast and hopefully avoid some of the mistakes I made. Be sure to watch our YouTube video for a visual guide to this smoking adventure. Enjoy, and happy cooking!
Affiliate Disclaimer: There are affiliate links on this page. If you click a link and make a purchase, I may receive compensation at no additional cost to you.
Legal Disclaimer: I cannot guarantee any results. All the people on this page who use this product may have results that vary. No guarantees of wealth, fame, or success. But hey, at least you tried.